DO NOT use the 4.2 version with any other firmware! Bad things will happen!
- Get an SD card. If it has a private directory, rename it temporarily, e.g. to "privateold". Having other saved channels on the same card will screw it up.
- Download abd6a_v200.zip (this is the 4.2 version. Go here for the versions for firmwares 3.0 to 4.1) and unzip it onto the SD card.
- Go download the HackMii installer. Copy installer.elf to the root of the SD card, and rename it to boot.elf.
- Press the SD card icon (for the SD menu). This is different from the last version. Then insert the card. It should either pop up Load boot.dol/elf? or freeze.
For your ease-of-use, I've already downloaded the files (up-to-date as of November 14th, 2009) and packaged them with this guide.
Step 2a: Install HackMii (BootMii, DVDx, Homebrew Channel)
If you followed the previous instructions correctly, you should come to a screen looking like this:
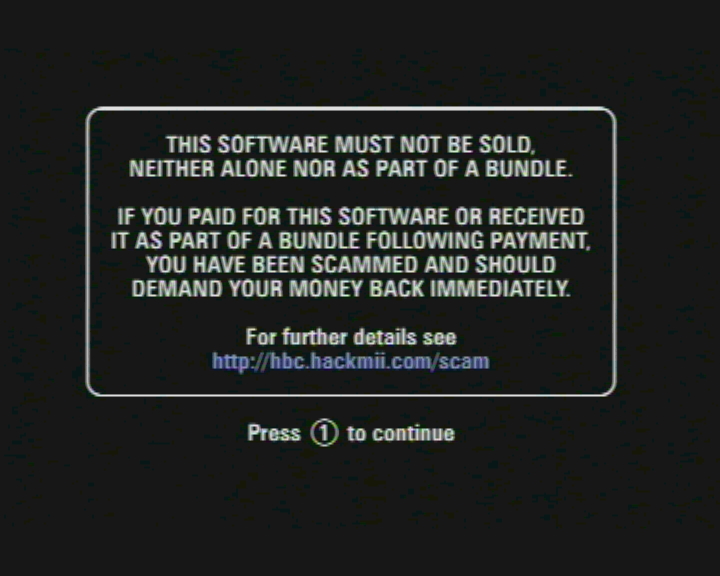
When it asks you to, press 1 to continue.
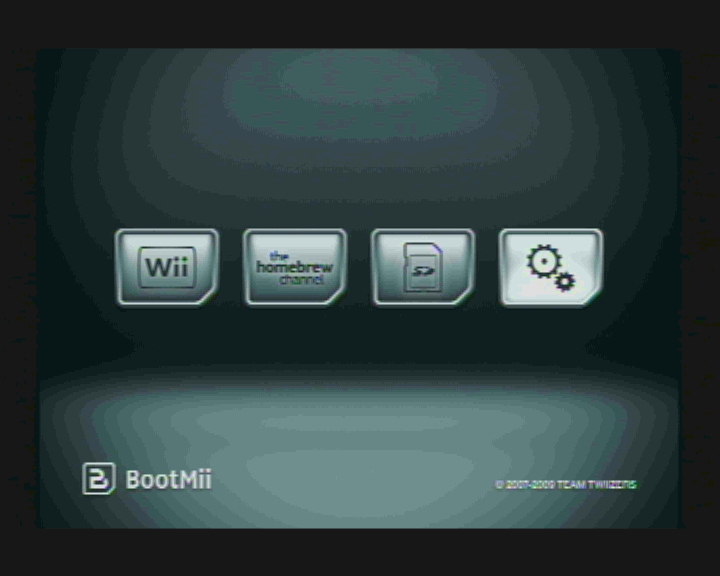
You should now be at a menu that looks like this:
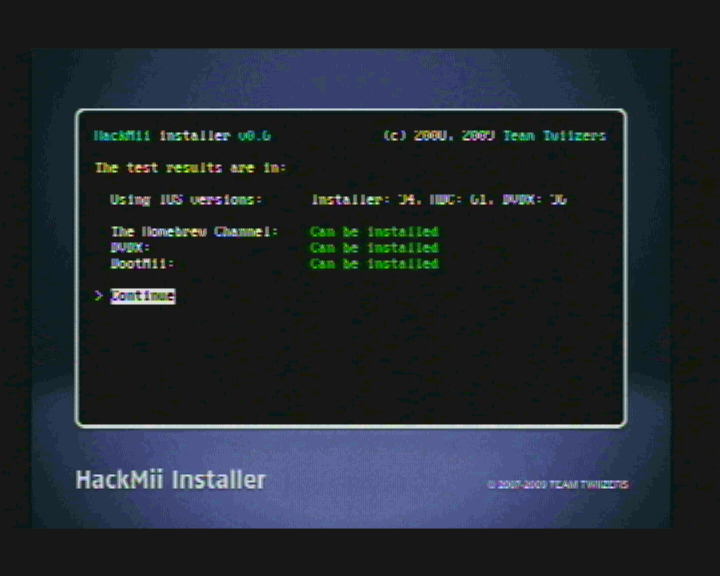
This page allows you to know what can and can't be installed. Don't worry if DVDx can't be installed; you only need BootMii and the Homebrew Channel. Press A to continue.
You should now be at a screen that looks like this:
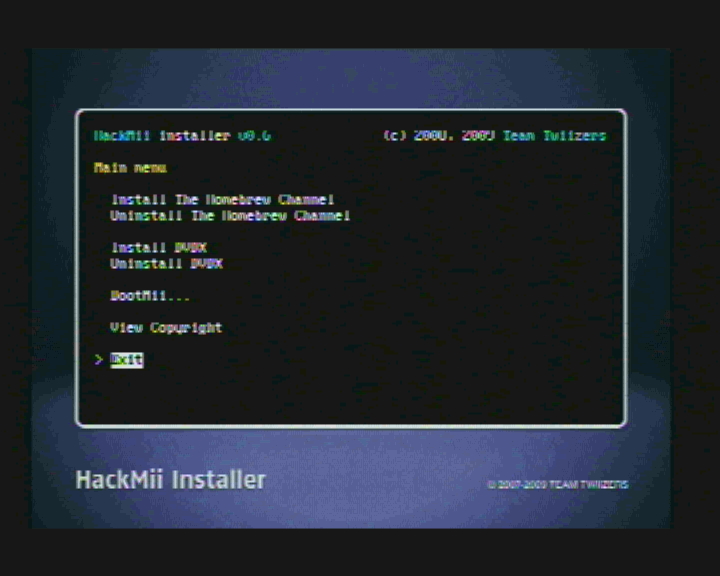
Scroll up to the top and press A to select "Install The Homebrew Channel". Follow the INCREDIBLY SIMPLE instructions given by the program to install The Homebrew Channel. Press A to continue once it's done. Do the same for DVDx, if you can install it.
Scroll down to "BootMii..." and select it. Select "Install BootMii as boot2".
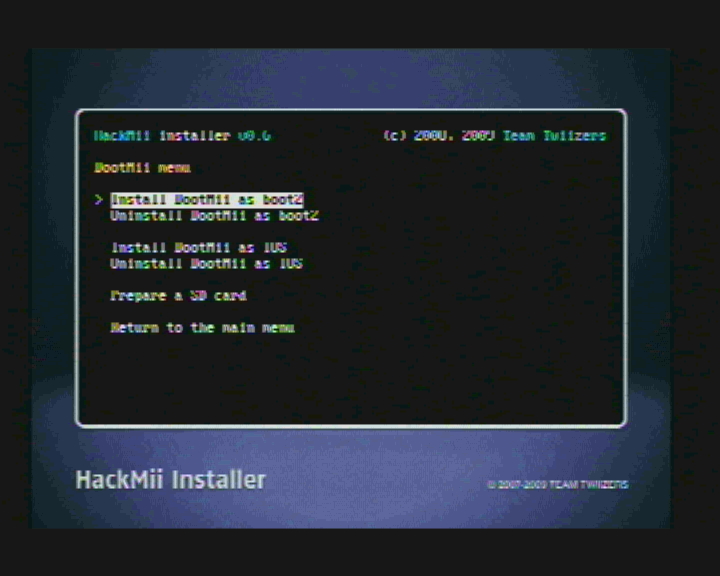
Select "Yes, continue" both times. This will prepare your SD card for BootMii and install BootMii to your boot2 (something completely separate from System Menu, and can boot even if your Wii is bricked).
Don't worry, we're almost done!
Step 2b: Backup your Wii with BootMii
Before we move on, you'll want to back up your Wii. This is fairly simple.
You should have been taken to the Homebrew Channel. Looks pretty nice doesn't it? Anyway, in order to get to BootMii, press the Home button and select "Launch BootMii".
In order to navigate the menus in BootMii, you must use a GC pad in port 1. If you don't have one, you can use the Power button to cycle through options in the menu, and Reset to select. You just need to briefly press each button. I myself will be using the GC controller.
Now, navigate over to the button with the gears. It looks like this:
Once in the options menu, select the first option with the SD card and chip on it. It looks like this:
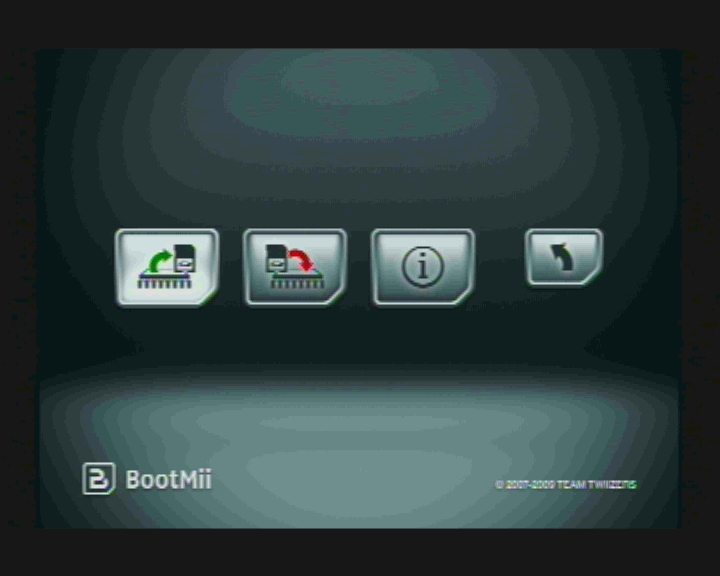
Select it, and continue to backup your SD card. Make sure it backs up and verifies correctly (it's correct if it completes). You will need this backup just in case something goes wrong (very low chance of that happening), so that you can restore your Wii from a bricked (bricked: as useful as a brick) state.
Step 3: Install Priiloader
Priiloader is something else to protect your Wii from being bricked. It also has hax for the System Menu, such as moving the Disc Channel to the place of your liking. It can also give you region free access, meaning that even if something isn't NTSC-U, it can run. You can also skip the disc update check and turn off the System Menu music. You can install it through the Homebrew Channel. I'll show you how.
Create a folder in the root folder (where you go directly inside of the card (eg., G:\[NAME OF CARD]), and name it "apps" (no quotes, of course.) Extract the file Priiloader_v0_1 to its own folder inside of the apps folder. Rename Priiloader_v0_1.dol to boot.dol so that the Homebrew Channel can see and launch it.
Insert your SD card into your Wii and launch the Homebrew Channel. You should see a button for Priiloader. Use that to launch it. Allow it to install.
Congratulations! You have now successfuly and safely hacked your Wii! Now, somethings you should and should not do to your Wii:
- What you should do:
- Install a cMIOS and a CIOS. (I'll have a guide for that another time)
- Install a theme for the System Menu
- Install any Virtual Console game you want (again, there's gonna be another guide.
- What you should NOT do:
- Install anything that is not your region (no NTSC-U VC games on a PAL system)
- Delete anything that the Wii originally came with